Git and Github with IntelliJ IDE
Git and Github with IntelliJ IDE.
For performing git commands I prefer the standalone terminal or the IDE terminal. I also find the diff tool in the IDE much simpler to use than vimdiff.
More about git in my version of Git crash course
Setup a Git repository in IntelliJ
Start IntelliJ.
Get from VCS. Enter the repo URL. Follow other defaults.
Following the videos from Java11 Essential Training in Linkedin Learning. It shows a tab called Local Changes that was moved out of the way in the version I had Ultimate 2021.1.
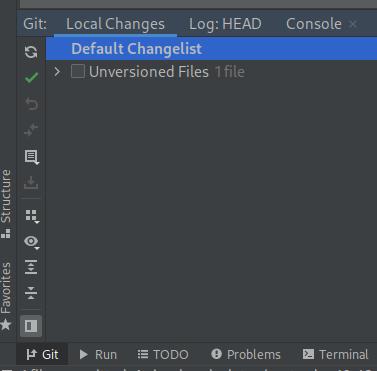
Revert back to this interface:
- Update VCS settings
- Go to
File -> Settings -> Version Control ->Commit - Uncheck
Use non-modal commit
Checkout a Git branch in IntelliJ
After cloning the repo. The bottom right shows a text with the branch name, for example master.
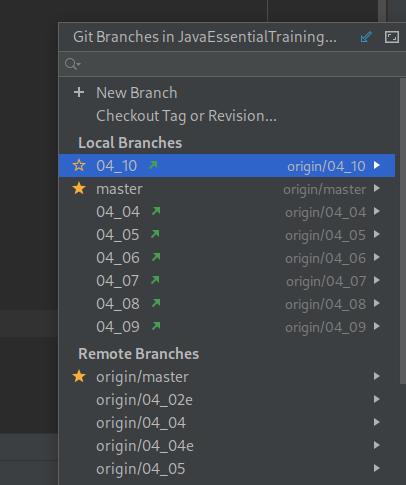
If a branch already exists, click on this text on the bottom right. On the menu that opens. Drag it upwards to see more.
Checkout a branch:
- Click on the branch
- Click on
Checkout - Bottom left IDE says
Checked out new branch <branch name>
After making changes and doing a commit. You can switch branches.
Verify that you are checking out from local or from remote.
If you changed branch 04_09 and did a local commit without pushing to remote. Then try to checkout origin/04_09 you will get this warning:
Local branch '04_09' has commits that do not exist in `origin/04_09'.
Rebase '04_09' onto 'origin/04_09', or drop local commits?
You can see how local and remote branches are organized.
See the branch diff in IntelliJ
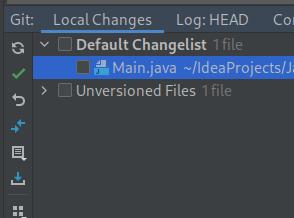
On the bottom left, click on Git and the tab Local Changes. Under Default Changelist. Select the file(s) you changed.
Use Ctrl+D to see Diff.
This will open a window with highlights to see the difference between before and after.
Git commit in IntelliJ
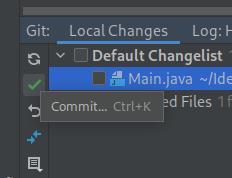
Once the changes have been checked. Click on the green check mark on the bottom left.
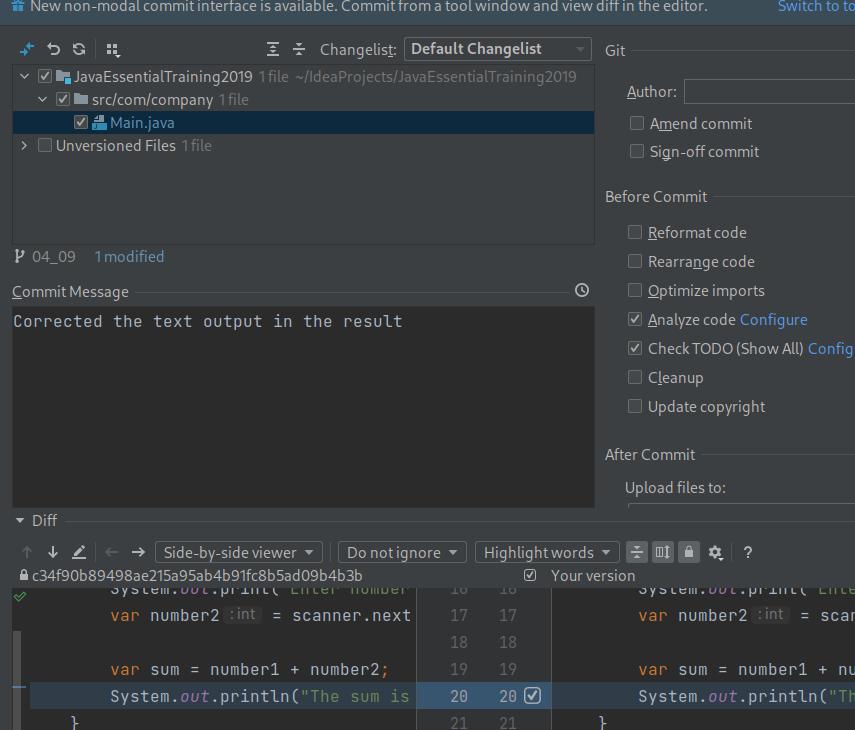
Enter a commit message and review other options or leave the default.
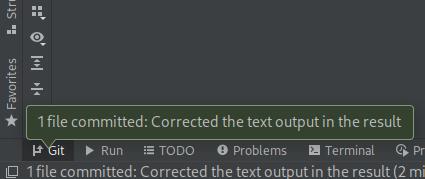
Then a message on the bottom left says that a file was committed.
