Copy Files to an Azure Windows VM
I am having some issues with scp to copy files from Linux to an Azure Windows 10 VM. Here is a procedure to create a shared folder between Azure Storage and a Windows VM.

Create a File Share in Azure Storage
- Go to Azure Portal
- Storage account
- Left menu Data Storage, File Shares
- Create a File Share
- Enter a name for it, and select Tier
Transaction optimized - Click Create
- Then click on the created file share
Connect overlay
After clicking on the created file share. An overlay appears with Connect.
The Windows tab says:
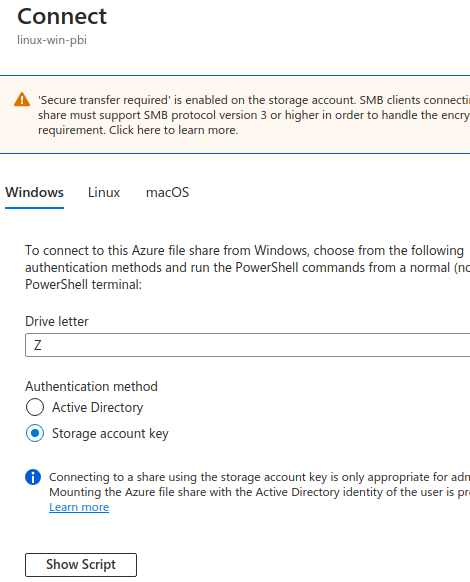
To connect to this Azure file share from Windows, choose from the following authentication methods and run the PowerShell commands from a normal (not elevated) PowerShell terminal:
Set Authentication method to Storage account key
Warning note:
Connecting to a share using the storage account key is only appropriate for admin access. Mounting the Azure file share with the Active Directory identity of the user is preferred.
Click on Show script. Copy the script.
Below this button there is this note:
This script will check to see if this storage account is accessible via TCP port 445, which is the port SMB uses. If port 445 is available, your Azure file share will be persistently mounted. Your organization or internet service provider (ISP) may block port 445, however you may use Azure Point-to-Site (P2S) VPN, Azure Site-to-Site (S2S) VPN, or ExpressRoute to tunnel SMB traffic to your Azure file share over a different port.
Run the script in the Azure VM
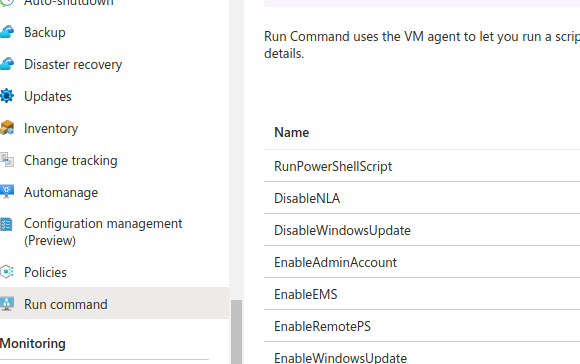
- In Azure portal, go to the VM, under Operations
- Click
Run Command, thenRunPowerShellScript. - Paste script in this console and
Run
Top message says Script execution in progress..., wait a few minutes, then it should say Script execution complete.
The output says CMDKEY: Credential added successfully
Mount the File Share in the Windows VM
- Login RDP to the Windows VM
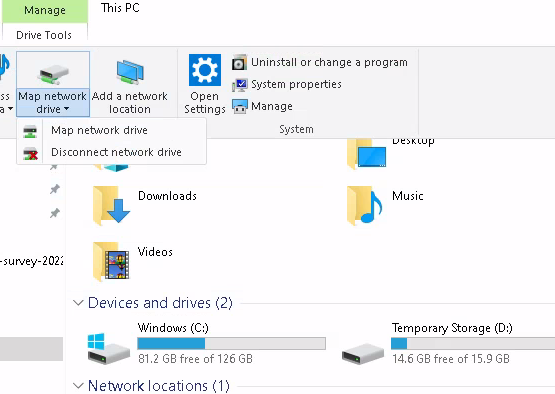
- Open File Explorer, then
This PC, top menuComputerthenMap network drive, selectMap network drive - Enter a Drive letter
- Enter folder using this format example
\\storageaccountname.file.core.windows.net\filesharename- This string should be in the generated script above.
- Select both
Reconnect at sign-inandConnect using different credentials - For
email addressenter the storage account name - For password enter a storage account key (from Azure Portal, Storage account)
- The file you uploaded through Azure portal in File Share should appear there.
Connect the File Share in the Windows VM After Restart
When you start the VM again, the network drive will appear as disconnected.
- Double click on it
- Enter the same password above (Azure Storage Account key)
Troubleshooting
If you have the Windows VM running, while you do the procedure, the Network Drive Z will show up with an X (disconnected). When you mount the File Share, you will have to use a different letter and continue the steps above.
More details